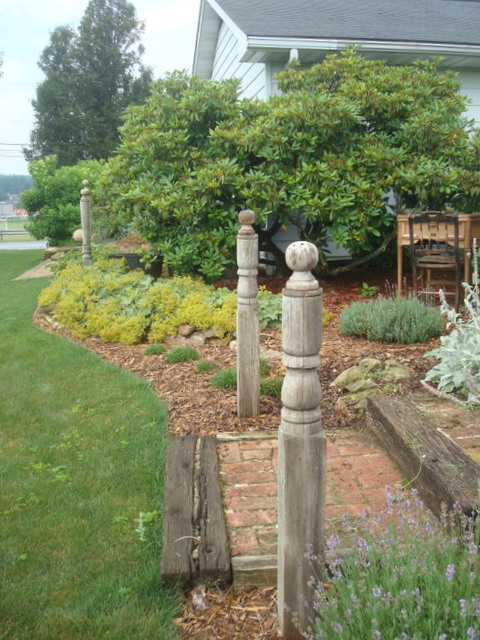
Son L is in the landscaping business and we got an enormous pile of wood chips from him. The rest we found at a vacant lot and after contacting the owner, were able to finish the rest. Wood chips is different than bark mulch in that it's the whole tree rather than just the bark. It also needs to age one year before using it. There are large pieces in the wood chips and I expect to have to do a pick up next spring. According to the Back To Eden gardening method, there are places where townships have huge piles of this stuff. We need to be the early bird next spring for ours!
Prior to this summer, I used compost and cut grass to cover my beds but they always ended up looking dry and cracked like the picture below. And weeds? I was constantly pulling the pesky things and in the heat of summer, missed a lot under the fully grown plants, especially on the south side of the yard. But not this year! I've pulled less weeds this summer than I have in all the years of perennial gardening. Truthfully, I wasn't sure if I'd like the 'wood chip look' but I'm so pleased with the results and have learned to like how it looks!
As you can see, I had a late start but simply worked around the plants. I placed a layer of newspaper/cardboard down first, holding it in place on those windy spring days with mushroom mulch. We live close to large mushroom producers so that's easy to come by. The mushroom mulch was several inches deep. Then came the wood chips and it was exciting to see this happening! I also was blessed with help from the grands.
I missed a few perennials but they just simply pushed up through the three layers. The growth was stunted but I expect better results next summer. Some day lilies liked it and others not as much, though I have a sneaky suspicion that came from unwanted visitors in the form of voles. The geraniums loved it and did very well. The beds did really well protected from the summer heat and the retained moisture. No more cracked ground and pulling an excessive amount of weeds! When the weeds did come through, they pulled very easy, even the dandelions!
A few before and afters.
Geranium love!
The picket bed pictures are different seasons but also got scaled back, partially because I was late getting the mulch done. Would I do it again? I sure would - it was worth all the extra work! In Lancaster County, all the colors available in mulch are used, with lots of pristine flower beds but somehow, the wood chip look grew on me. The earthworms love it and I love knowing what's happening underneath those layers of mulch!
You can find the video and information here.


7 comments:
That sounds like an awful lot of work, but the results are fabulous! I know you must love the neat and tidy look, and I'm sure your garden is well nourished from it!
i like the wood chips better too and my plants like it better then compacted moldy mulch. ginney
I have been using a similar technique for twenty years or more... the improvement in the soil is quite amazing as the mulch breaks down over time, although one needs to be careful regarding the source for bark. At one point I brought in a semi load that appears to have been carrying Fire Blight and I ended up losing twenty-five trees including fruit and flowering crab apples. I generally bring in and use between 25 and 50 yards of wood chips each year. I also find that at times one may have to be careful to make certain that the mulch hasn't crusted over into a water shedding almost impenetrable surface. My most recent source has been ground up pallets that are generally cleaner than some of the other sources.
Your gardens are marvelous and your photography spectacular! Larry
we found that if your spray your newspaper with water as you are placing it on the ground it will keep it in place and it will not blow as much, love you gardens:)
wow - sounds like a lot of work, but your landscape is beautiful & well worth all your efforts! thanks for linking up to Fishtail Cottage's garden party! xoxo, tracie
I think it looks fantastic! great photos this week!
I thank you so much for linking in this week. It is an honor to host Friday's Flaunt and meet new friends and visit the regulars (who are like old friends) who share. I always feel so privelaged to know that inspiration is just a click away when need a bit of a boost for my spirits! It is a pleasure to tour and see all the gorgeous blooms...landscaping and ideas that all the participants share, and I appreciate each and every link and comment! I have shared your post today with my facebook page for Tootsie Time. I hope you will link in again soon!
(¯`v´¯)
`*.¸.*´Glenda/Tootsie
¸.•´¸.•*¨) ¸.•*¨)
(¸.•´ (¸.•´ .•´ ¸¸.•¨¯`•.
Post a Comment
I love hearing from you - thank you for taking the time to do so!